Most inflatable hot tub setup mistakes happen before the water is warm. The liner gets dragged across rough paving, the ground sheet is treated as optional, or the tub is filled before anyone has checked level, drainage, power and first-dose chemicals.
In This Article
- The Inflatable Hot Tub Setup Mistake That Causes Most Problems
- Mistake 1: Putting the Tub on the Wrong Surface
- Mistake 2: Skipping the Ground Sheet or Insulation Layer
- Mistake 3: Filling Before Checking Level, Power and Drainage
- Mistake 4: Treating the First Fill Like a Paddling Pool
- Mistake 5: Ignoring Heat-Up Time, Cover Fit and First-Night Running Costs
- First-Fill Checklist
- Frequently Asked Questions
The Inflatable Hot Tub Setup Mistake That Causes Most Problems
The big mistake is thinking setup starts when you turn the heater on. It starts when you choose the patch of ground.
An inflatable hot tub is forgiving in some ways. You can deflate it, move it, store it, and bring it out for summer without pouring concrete. But once it is full, even a small four-person tub can hold 700 to 900 litres of water. That is 700kg to 900kg before you add people. The soft liner is then pressed hard against whatever is underneath it.
That is why liners, ground sheets and the first fill belong in the same conversation. The liner protects the water. The ground sheet protects the liner. The first fill proves your site choice before you commit to heating a tonne of water.
The better order is:
- Choose the base: flat, firm, clean and close enough to safe power.
- Protect the underside: use a ground sheet, floor protector or foam tiles.
- Inflate and inspect: check valves, seams, pump connection and cover fit.
- Fill only part way first: pause to check level, bulging and leaks.
- Start water care from day one: test, sanitise and log the first readings.
If you want the buying-guide version, our best inflatable hot tubs UK guide covers the tubs themselves. This article is about not ruining the one you already bought.
Mistake 1: Putting the Tub on the Wrong Surface
The wrong surface is not always obvious. A patio can look flat until the waterline tells you otherwise. Decking can feel solid under your feet but flex under the filled tub. Artificial grass can hide dips, screws, stones and old edging.
What a good surface looks like
A good inflatable hot tub surface is:
- Flat: no visible slope, dips or rocking under the base.
- Firm: paving, concrete, reinforced decking or a prepared base; not soft soil.
- Clean: swept free of grit, glass, screws, thorns and sharp leaf stems.
- Drained: not a hollow where rainwater pools under the mat.
- Accessible: enough space to reach the pump, filters, drain and cover clips.
The practical test is boring but useful: put a long spirit level or a straight timber board across the area in several directions. If the slope is obvious before the tub is filled, it will be worse when 800 litres of water is pushing against one side.
Surfaces I would avoid
I would avoid gravel, loose chippings, bare soil, uneven decking and old cracked paving. You can sometimes rescue a slightly rough patio with a proper floor protector, but a mat is not a structural fix. It will not turn a lumpy base into a level one.
Decking deserves extra caution. A filled hot tub plus bathers is a serious load, and standard domestic decking is not automatically suitable. If your setup is on decking, read our deck support guide before filling anything.
The liner risk
Inflatable liners usually fail at boring points: rubbed underside, stressed seam, pinhole from grit, or a crease that has been loaded in the same place for weeks. You may not see damage immediately. The first sign can be a soft tub wall, damp patch under the mat, or water loss that you blame on splashing.
If the surface looks questionable, stop. Moving an empty inflatable tub is annoying. Moving a full one is not a plan.
One extra check I like is the kneel test. Kneel on the mat where the tub wall will sit and run your hand over the protected surface. If you can feel a sharp ridge, raised slab edge or trapped stone through the mat, the filled liner will feel it too. That is the point to lift the mat, sweep again and fix the base rather than hoping water weight will flatten everything out.
Mistake 2: Skipping the Ground Sheet or Insulation Layer
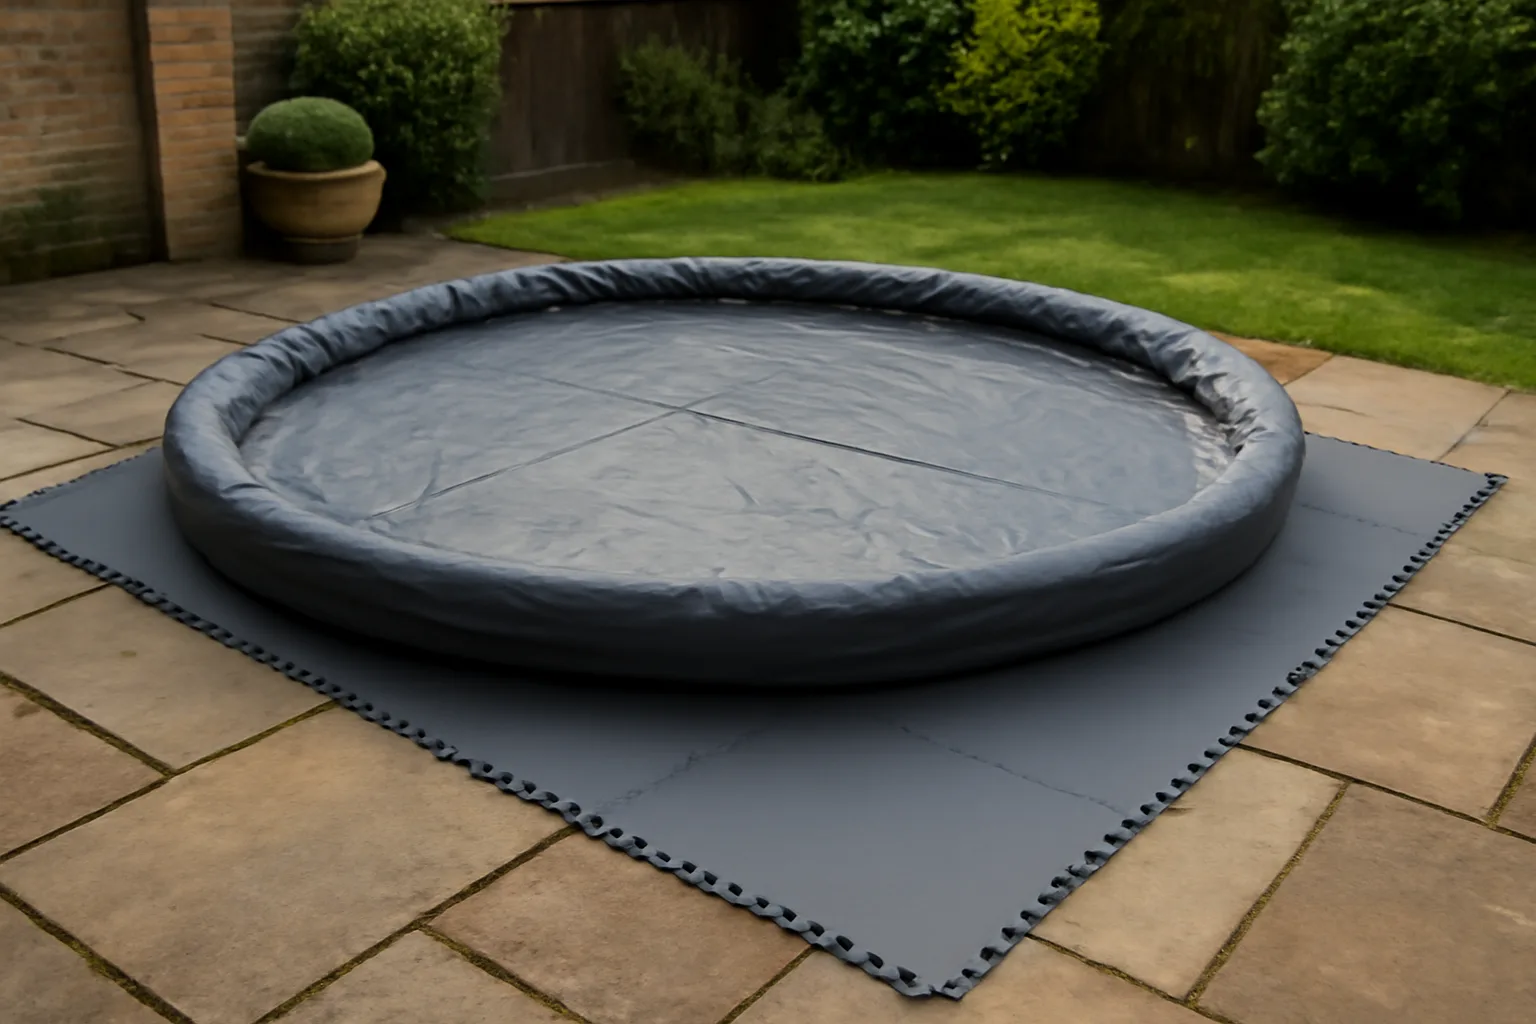
The ground sheet is not packaging. It is part of the setup.
A basic ground sheet protects the liner from grit and abrasion. A better floor protector adds a little comfort, helps reduce heat loss through the base, and gives the pump a cleaner area to sit on. It is not glamorous kit, but it is cheaper than replacing a liner.
The current UK price range is sensible:
- Lay-Z-Spa Square Floor Protector Mat: £39.99 direct from Lay-Z-Spa, suitable for most square and round Lay-Z-Spa models except specific exclusions.
- Lay-Z-Spa 1.96m x 1.96m Floor Protector at Argos: recently checked at £33.60, down from £42, though Argos pages can return 403 to automated checks.
- CosySpa foam hot tub flooring: about £29.99 for a foam tile set from Net World Sports.
- Generic foam exercise/garden tiles: often £20 to £35 on Amazon UK, but check outdoor suitability and thickness.
For a seasonal inflatable tub, I would buy the matching brand floor protector if the price is around £30 to £55. It fits more predictably and usually includes a pump pad. If the patio is cold or slightly rough, add thicker interlocking foam underneath, but only if it does not make the tub unstable.
What not to use underneath
Do not use a random tarpaulin on its own over rough stone. It can wrinkle, trap grit and give a false sense of protection. Do not use thick soft cushions or camping mattresses. They compress unevenly and can make the tub lean.
Also be careful with insulation boards. Rigid boards can work in a planned base build, but loose boards under a round inflatable tub can shift, crack or create edges under the liner. If you want a permanent base, our hot tub base guide is the better place to start.
If you already own gym flooring, check the material before reusing it outdoors. Some cheap EVA tiles soften in heat, hold water in the joins or mark pale paving. Rubber tiles tend to cope better, but a full hot tub footprint can cost £60 to £150 depending on thickness. That only makes sense if the area will stay as a spa corner, not for a weekend experiment.
Mistake 3: Filling Before Checking Level, Power and Drainage
Filling feels like the fun part, so people rush it. That is how you discover the plug lead does not reach, the drain points at the house wall, or the waterline is 5cm higher on one side.
Check power before water
Plug-and-play inflatable tubs are still high-load outdoor appliances. Follow the manufacturer’s instructions, use a suitable outdoor socket, and do not treat a cheap indoor extension lead as a permanent answer.
Electrical Safety First warns against overloading extension leads and notes that wound cable reels can overheat. Their extension lead safety guidance is worth reading before you run a hot tub from the far end of the garden.
If the socket position is wrong, sort that first. A proper outdoor socket installation by an electrician may cost roughly £120 to £250 depending on distance, consumer unit access and RCD protection. That is still cheaper than bodging power beside hundreds of litres of water.
Check drainage before water
A first fill eventually becomes a first drain. Know where the water will go. A patio that drains away from the house is useful. A patio that sends 800 litres towards the back door is less charming.
Check the drain valve position before filling. Leave room for the hose adapter, and make sure you can access it once the pump is connected. If your garden drains poorly, draining in stages may be kinder to the lawn and neighbours.
Fill in stages
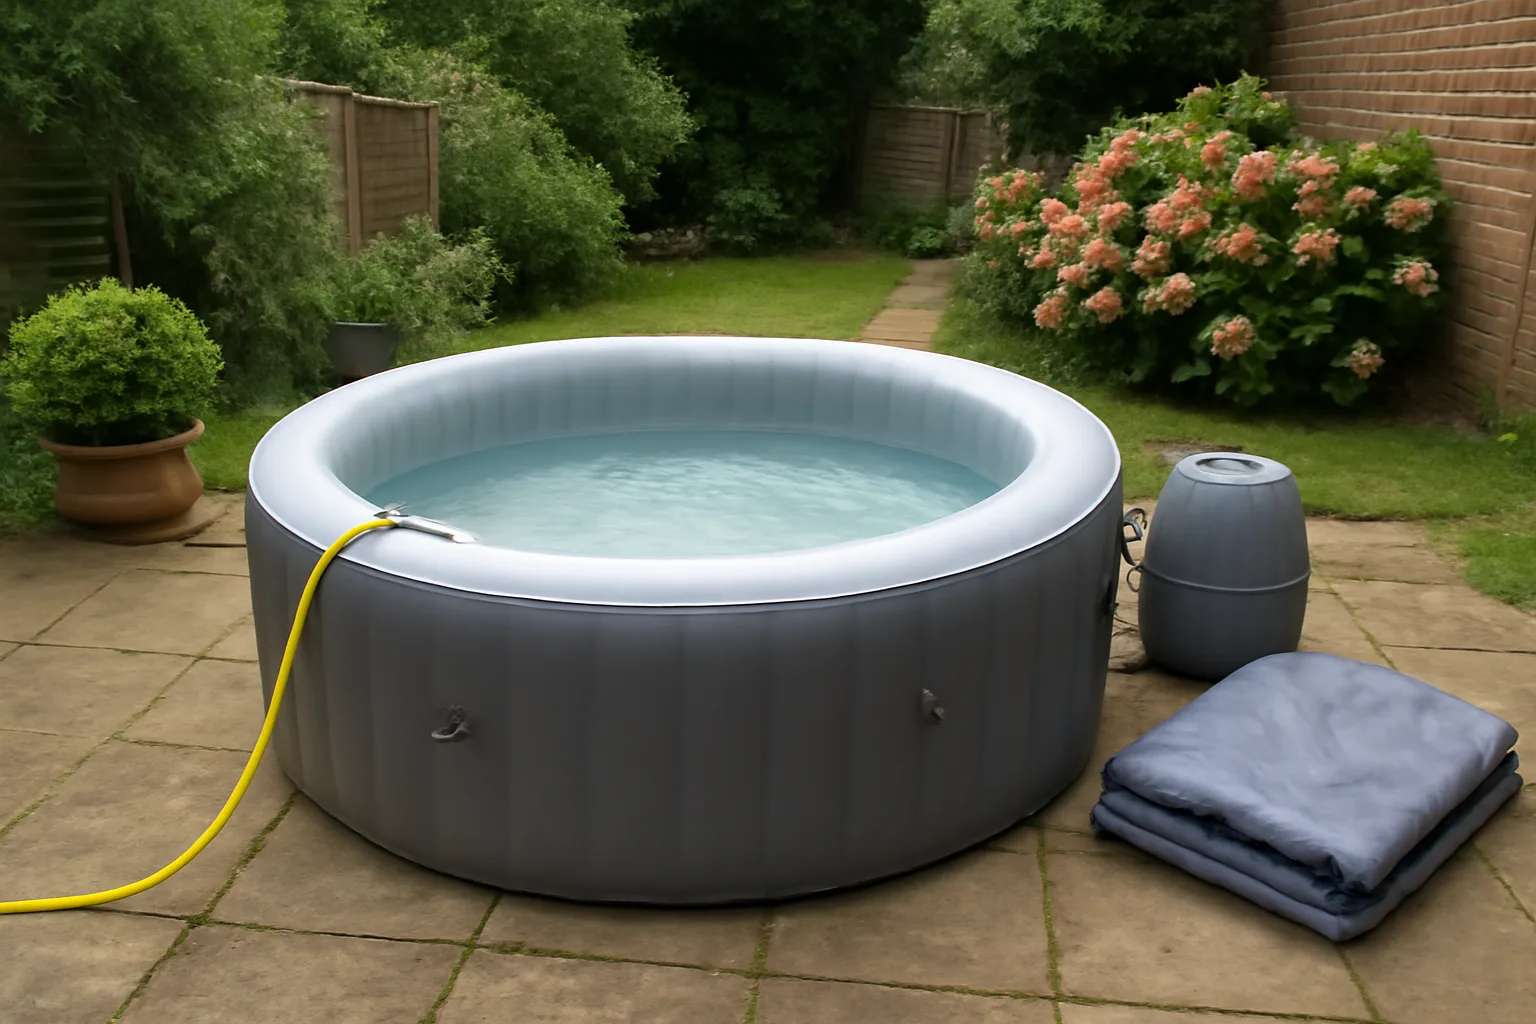
Do not fill to the line in one go. Fill to a few centimetres first, smooth the base if the model allows it, and check the tub is sitting evenly. Then fill to about one-third and check again.
If the waterline is visibly sloped, stop. A small lean is not a quirky feature; it puts more load on one side wall and can make the cover fit badly. Drain, move or re-level before the tub is full.
Mistake 4: Treating the First Fill Like a Paddling Pool
Fresh tap water is not ready hot tub water. Once it is warm and bubbling, it becomes a much friendlier place for bacteria if you do not test and dose it.
The HSE spa-pool guidance is aimed mainly at managed or business-use systems, but the principle is still useful for domestic owners: warm aerated water needs proper control because it can support harmful microorganisms if neglected.
What to have before filling
Do not wait until the tub is hot to buy chemicals. Have the starter kit ready first.
Useful first-fill kit usually includes:
- Test strips: £5 to £12 for a basic pot; you need these from day one.
- Chlorine granules or bromine starter: often £8 to £18 depending on size.
- pH increaser and reducer: about £7 to £12 each.
- Non-chlorine shock: about £10 to £18 for routine oxidising.
- Starter kit: Clearwater Hot Tub Chemical Starter Kit is £29.99 from Lay-Z-Spa and includes chlorine granules, pH products, foam remover and test strips.
If you are new to water care, a starter kit is easier than building the basket one bottle at a time. Our hot tub chemicals beginner guide explains the chlorine, bromine, pH and alkalinity basics without turning it into a chemistry lesson.
First-dose rhythm
Read the instructions for your own kit, because dosing depends on water volume and product strength. The sensible rhythm is test, adjust pH if needed, add sanitiser, circulate, then test again before bathing.
Do not chuck in a random scoop and hope. Too little sanitiser leaves the water unsafe. Too much can irritate skin and damage covers or pillows. If the tub came with a tiny paper strip chart, keep it dry and take a photo before it fades.
Mistake 5: Ignoring Heat-Up Time, Cover Fit and First-Night Running Costs
The first night catches people out. They fill the tub at 4pm, expect a hot soak at 8pm, then discover the water has crept up a few degrees and the cover is not clipped properly.
Inflatable tubs heat slowly. Many models gain roughly 1°C to 2°C per hour in normal UK conditions, slower if the starting water is cold, the air temperature drops, or the cover is loose. A fill from 12°C to 38°C can easily be an overnight job.
Cover fit matters
The cover is not just a lid; it is the main defence against heat loss. Clip it down, check the inflatable bladder if your model uses one, and make sure nothing is folded under one edge. A loose cover can waste more energy than a fancy floor mat saves.
If your cover is damaged, budget around £35 to £90 for a replacement inflatable hot tub cover depending on size and brand. A better cover often gives more real-world value than another accessory tray.
First-night electricity
Running costs vary by tariff, water volume, temperature and weather. As a rough UK sense check, heating a 900-litre inflatable tub from cold can cost several pounds on the first heat-up, then less per day if the cover stays on and the temperature is maintained sensibly. Our hot tub electricity usage guide goes deeper into kWh estimates.
The setup mistake is leaving the heater fighting preventable losses: no mat, loose cover, exposed windy spot, and a temperature target nobody needs. For a family garden tub, 37°C often feels plenty warm in summer. Chasing 40°C every time costs more and slows the first evening down.
First-Fill Checklist
Use this before the hose goes in, not after.
- Sweep the area: remove grit, thorns, screws, glass and sharp plant debris.
- Check level: use a long level or straight board in several directions.
- Lay protection: fit the ground sheet, floor protector or foam tiles without wrinkles.
- Inflate correctly: avoid over-inflating in hot sun; check the manual for pressure guidance.
- Position the pump: leave space for airflow, filters, drain access and cover clips.
- Check power: use the correct outdoor socket arrangement before water is added.
- Part-fill and pause: look for tilt, bulging, leaks or trapped folds.
- Fill to the line: do not overfill, because bathers will raise the water level.
- Test and dose: follow your starter kit instructions before anyone gets in.
- Clip the cover: start heating with the cover secure and the air bladder correctly fitted.
If something looks wrong at step seven, drain and fix it. That is the whole point of a staged first fill. Most inflatable hot tub setup mistakes are cheap to fix while the tub is still almost empty and irritating once it is hot.
For ongoing care after the first day, use a routine rather than memory. Our weekly and monthly hot tub water schedule covers the checks that stop cloudy water, foam and filter problems later. If the water still turns cloudy or the pump starts behaving oddly, the triage steps in common hot tub problems are the next port of call.
Frequently Asked Questions
Do you need a ground sheet under an inflatable hot tub? Yes. At minimum, use the supplied ground sheet. A thicker floor protector or foam tile layer is better on cold or slightly rough patios.
Can an inflatable hot tub go straight on grass? I would avoid it. Grass can dip, hold moisture, hide sharp debris and become muddy under the weight. Use a firm prepared base instead.
How level does an inflatable hot tub need to be? It should look level before filling and have an even waterline during the staged fill. A visible slope puts extra pressure on one side.
How much does a hot tub floor protector cost? Expect about £30 to £55 for a branded floor protector, with some foam tile sets around £20 to £35 and heavier rubber matting costing more.
Can you use an extension lead for an inflatable hot tub? Follow the manufacturer instructions and use a suitable outdoor power setup. Do not rely on cheap indoor extension leads or wound cable reels.
Should you add chemicals on the first fill? Yes. Test the water, adjust pH if needed, add the correct sanitiser dose, circulate, and retest before bathing.