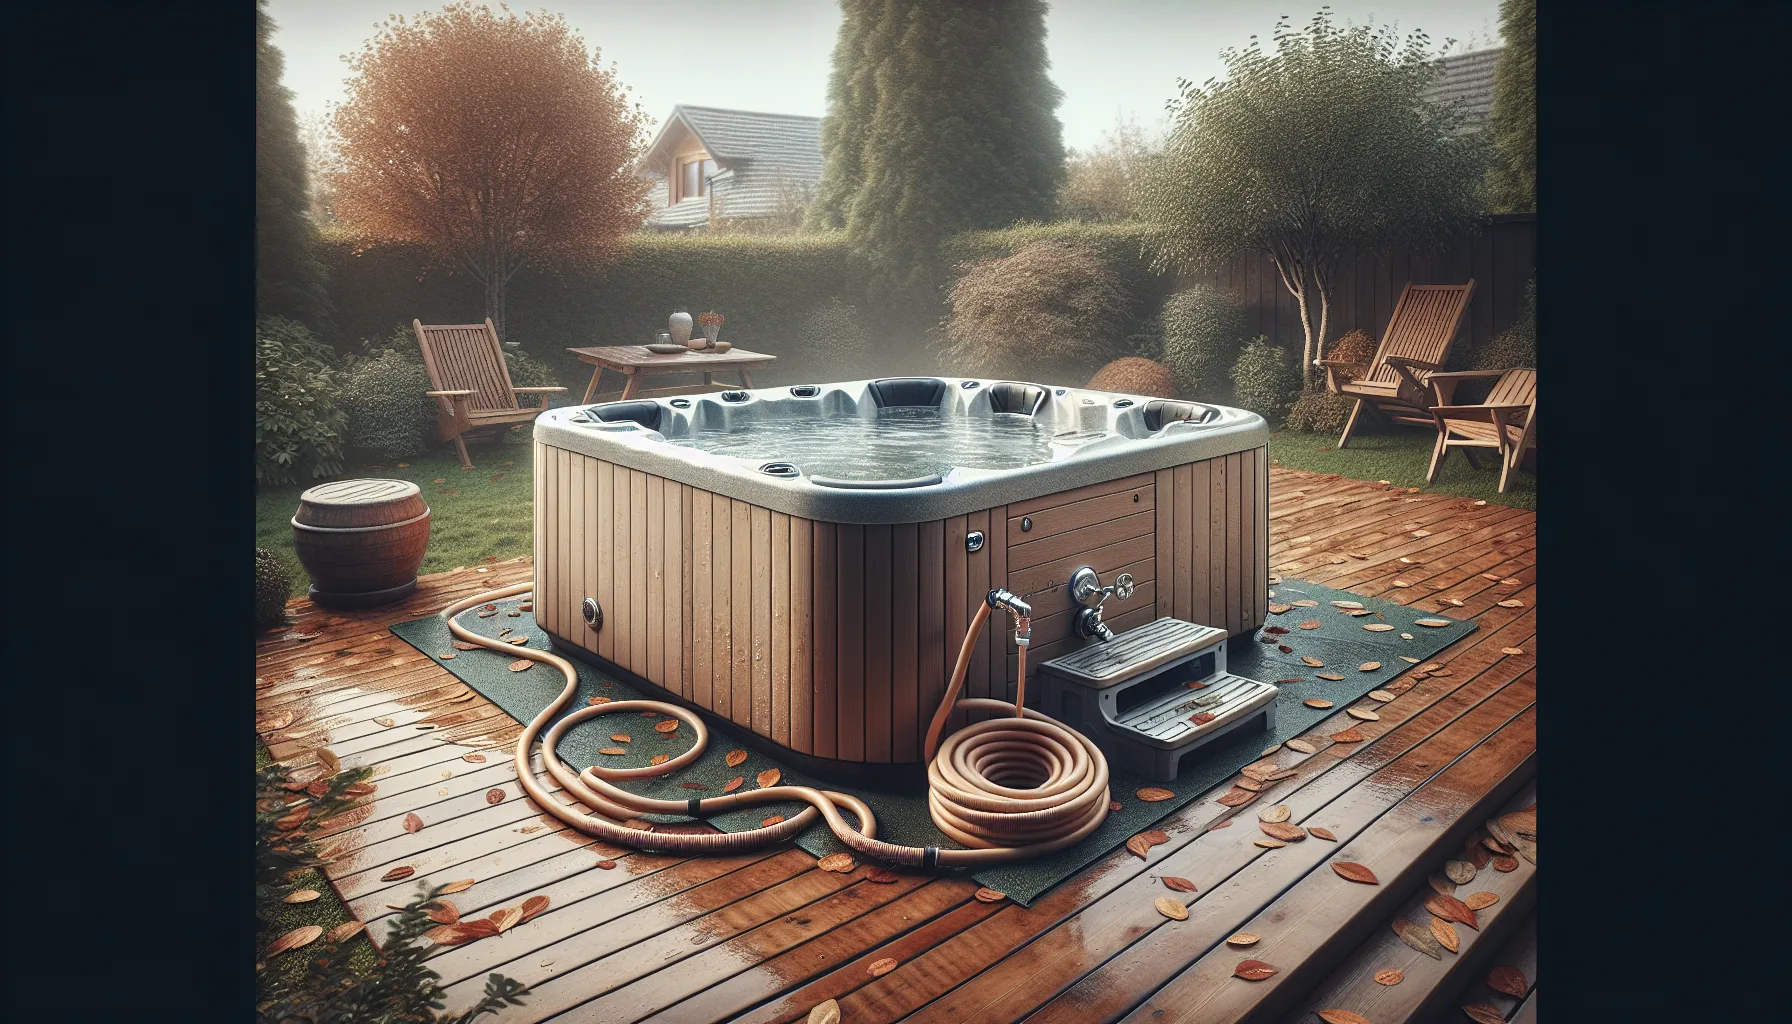
October hits, the temperature drops below 10°C for a week straight, and suddenly you’re standing on the patio in a dressing gown wondering whether you should drain the hot tub or keep it running all winter. You’ve heard horror stories about cracked pipes, frozen pumps, and £800 repair bills — but nobody ever explained the actual process of winterising properly. Let’s fix that. For related guidance, see our Best Inflatable Hot Tubs 2026: UK Garden Tested guide. For related guidance, see our Hot Tub Water Hardness: Why It Matters guide.
In This Article
- Why Winterising Matters in the UK
- Winterise vs Keep Running: Which Is Right for You?
- What You’ll Need
- Step-by-Step: How to Winterise Your Hot Tub
- Draining Your Hot Tub Properly
- Flushing the Plumbing Lines
- Blowing Out the Jets and Pipes
- Cleaning the Shell and Cover
- Protecting Against Frost Damage
- Inflatable and Lay-Z-Spa Hot Tubs
- Common Winterising Mistakes
- When to Start and When to Reopen
- Frequently Asked Questions
Why Winterising Matters in the UK
UK winters are unpredictable. One week it’s 8°C and drizzly, the next it drops to -5°C overnight with a hard frost. Water left sitting in pipes, pumps, and jets expands when it freezes, and that expansion cracks plastic fittings, splits rubber seals, and can even rupture the pump housing itself.
The Cost of Getting It Wrong
A cracked pump replacement runs £300-600 depending on your hot tub model. Split plumbing lines mean stripping out and replumbing sections of pipework — easily £200-400 in labour alone plus parts. I’ve seen forum posts from owners who left their tub “just for a couple of weeks” during a cold snap and came back to a puddle on the patio and a £1,200 repair bill.
Freeze Protect Isn’t Enough
Most modern hot tubs have a freeze protection mode that kicks the circulation pump on when the internal temperature sensor drops near freezing. It works — until there’s a power cut. A 12-hour power cut during a -7°C night is all it takes. If you’re relying on freeze protect alone, a battery backup UPS can add a safety margin, but it’s not foolproof. For tubs you won’t use for 6+ weeks during winter, proper winterising is the safer option.
Winterise vs Keep Running: Which Is Right for You?
This depends on how often you actually use the tub in winter and whether you’re prepared to maintain it through the cold months.
Keep Running If…
- You use it at least fortnightly — a running hot tub in winter is one of life’s great pleasures. Getting in at 38°C when it’s snowing is magic.
- Your energy costs are manageable — running a hot tub through winter costs roughly £40-80 per month depending on insulation, ambient temperature, and electricity tariff. Good insulation around your hot tub makes a significant difference to running costs.
- You have reliable power — no frequent outages in your area
- You’re happy maintaining it — water chemistry still needs attention even in cold weather
Winterise If…
- You won’t use it for 2+ months — heating an unused tub through winter is just burning money
- You’re going away for an extended period — nobody checking on it means nobody catching problems
- Your tub is inflatable — Lay-Z-Spas and similar inflatables aren’t designed for freezing conditions
- Energy costs are a concern — winterising is free, running through winter isn’t
What You’ll Need
Before you start, gather everything. Nothing worse than being halfway through a drain and realising you need to drive to B&Q for pipe antifreeze.
- Submersible pump or garden hose — for draining (pump is faster)
- Pipe flush/line cleaner — Ahh-Some or Oh Yuk are popular choices, about £15-25 from Amazon UK
- Wet/dry vacuum or shop vac — for blowing water out of jets and lines
- Non-toxic antifreeze (propylene glycol) — NOT automotive antifreeze, which is toxic. Pool and hot tub antifreeze is available from hot tub suppliers for about £10-15 per litre
- Soft cloths and non-abrasive cleaner — for the shell
- Cover cleaner and UV protectant — 303 Aerospace Protectant is the gold standard, about £15 from Amazon UK
- Old towels — for mopping up residual water
- Allen key or socket set — some drain valves need tools to open
Step-by-Step: How to Winterise Your Hot Tub
The full process takes about 2-3 hours. Don’t try to rush it — every step matters, and the one you skip is the one that causes the cracked pipe in January. Here’s the complete process from start to finish.
Preparation and Planning
- Choose a dry day above 5°C if possible — working with cold, wet hands is miserable and you’re more likely to rush.
- Check the weather forecast for the next 48 hours — you don’t want a hard frost before you’ve finished.
- Turn off the heater at least 2 hours before draining — you don’t want to drain water that’s still at 38°C onto your lawn or patio.
- Run the jets on full for 15 minutes with the cover off — this circulates everything one final time.
Draining Your Hot Tub Properly
This sounds simple — open the drain, let the water out. In practice, there are a few things that trip people up.
Using the Drain Valve
Most hot tubs have a drain valve (sometimes called a spigot) near the base. Attach a garden hose and route it to a suitable drainage point — NOT directly onto flower beds if you’ve been using chlorine or bromine, as the chemical residue can damage plants.
The drain valve alone is slow. On a 1,000-litre tub, gravity drainage through the valve can take 2-3 hours. A submersible pump (about £25-40 from Screwfix or B&Q) cuts this to 20-30 minutes.
Where to Drain the Water
- Storm drain or surface water drain — check with your local water authority, but most allow domestic hot tub drainage
- Lawn or permeable ground — only if the chemical levels have been allowed to drop first. Run the tub for 48 hours without adding chemicals, and the chlorine/bromine will dissipate naturally
- NOT into a septic tank — the volume and chemicals can overwhelm the system
Getting the Last Bits Out
Once the main drain stops flowing, there’s still water trapped in the footwell, behind jets, and in low spots. Use towels to mop up the footwell, and remove all the jet inserts so water can drain from behind them. Turn each jet nozzle anticlockwise to unscrew them — most just twist out.
After my first winterisation attempt, I thought I’d done a thorough job. Then I found ice in three jets come February because I hadn’t removed the inserts. Lesson learned the hard way.
Flushing the Plumbing Lines
This is the step most people skip, and it’s arguably the most important. Biofilm — a slimy bacterial layer — builds up inside hot tub pipes over months of use. If you leave it there all winter, you’ll get a disgusting brown gunk explosion the first time you refill in spring.
How to Flush
- Add pipe flush product (Ahh-Some or equivalent) to the water before you drain.
- Run all jets on maximum for 20-30 minutes with the cover off — you’ll see debris floating to the surface, and yes, it’s as revolting as it sounds.
- Skim off the floating gunk with a net.
- Drain the tub completely.
- Refill to just above the jets, run again for 10 minutes, then drain again — this rinse cycle removes the loosened biofilm.
The first time I flushed a tub that had been running for 8 months, the amount of brown gunk that came out was genuinely shocking. The water looked like weak tea. Now I flush quarterly, and the difference in water clarity is noticeable.
Why This Matters for Winterising
Biofilm left in pipes over winter doesn’t just sit there — it continues to grow slowly, even without water flow. By spring, you’ll have a thick coating that’s harder to remove and can harbour Legionella bacteria. The HSE guidance on spa-pool systems and Legionella specifically recommends regular flushing and thorough draining as part of hot tub maintenance.
Blowing Out the Jets and Pipes
After draining and flushing, there’s still residual water trapped in the plumbing. This is the water that freezes and causes damage. You need to force it out.
Using a Wet/Dry Vacuum
A shop vac in blow mode is the most effective tool for this. Place the nozzle against each jet opening and blow air through the system for 10-15 seconds per jet. You’ll hear water spluttering out from other jets as the air pressure pushes it through the lines.
- Set your wet/dry vac to blow mode.
- Start with the jets nearest the pump and work outward.
- Hold the nozzle firmly against each jet opening — a tight seal gives better pressure.
- Blow for 10-15 seconds per jet until only air comes out.
- Repeat for every jet, including any water features, spillovers, or air venturi valves.
- Don’t forget the drain valve — blow through it too.
Alternative: Air Compressor
If you have a workshop air compressor, you can use that instead. Keep the pressure below 30 PSI — higher pressure can damage seals and fittings. A blow gun attachment works well for directing air into individual jet openings.
The Pump and Heater
These are the most expensive components to replace, so pay them extra attention. After blowing out the lines, open the pump unions (the large threaded fittings connecting the pump to the plumbing) and let any remaining water drain out. Mop up with towels. If your heater has a drain plug, open that too.
Cleaning the Shell and Cover
With the tub empty, now is the perfect time to give the shell a proper clean. You’ll have access to the waterline scum ring that’s impossible to clean when the tub is full.
Shell Cleaning
- Use a non-abrasive acrylic-safe cleaner — purpose-made hot tub shell cleaners are ideal, about £8-12 from Amazon UK or your local hot tub dealer
- Avoid bleach, kitchen cleaners, or anything abrasive — they can dull the acrylic finish permanently
- Pay attention to the waterline ring — this calcium and body oil buildup needs gentle scrubbing with a soft cloth
- Rinse thoroughly — any cleaner residue left behind will foam when you refill in spring
Cover Maintenance
Your cover takes a beating over winter even when the tub isn’t running. UV, rain, snow, and ice all degrade the vinyl.
- Clean both sides of the cover with a vinyl cleaner.
- Apply UV protectant (303 Aerospace Protectant is the go-to) to the outer surface.
- Check the foam inserts for waterlogging — lift each half; if it’s noticeably heavier than it should be, the vapour barrier has failed and the foam is soaking up water. A waterlogged cover is dead weight and provides almost no insulation.
- Ensure all cover clips or straps are secure — you don’t want wind lifting the cover and exposing the empty shell to rain and debris.
Protecting Against Frost Damage
Even after draining and blowing out the lines, you want some insurance against any residual moisture freezing.
Adding Antifreeze to Plumbing
Pour non-toxic propylene glycol antifreeze into each jet opening, the drain valve, and the pump unions. You only need about 100-200ml per opening — you’re not filling the pipes, just coating the low points where water might collect.
- Use hot tub or pool antifreeze ONLY — it’s non-toxic propylene glycol
- NEVER use automotive antifreeze — ethylene glycol is highly toxic to pets and wildlife
- Pour some down the drain valve last — this protects the lowest point of the system
Covering and Securing
With the tub clean, dry, and protected:
- Leave the cover on and secured — prevents rain collecting inside and debris getting in
- Place an old towel or moisture absorber inside — catches any condensation
- Consider placing a tarpaulin over the entire setup — extra weather protection, especially if your cover is ageing
- Block the equipment access panel gaps — mice and insects love the sheltered space inside a closed-down hot tub. A bit of wire mesh over ventilation gaps does the job.
Inflatable and Lay-Z-Spa Hot Tubs
Inflatable hot tubs need a different approach because they’re not designed to withstand freezing temperatures at all. The vinyl walls can crack, the inflatable ring can split, and the pump units are particularly vulnerable.
Winterising an Inflatable
- Disconnect the pump unit and bring it indoors — this is the most expensive component and the most frost-sensitive.
- Drain the tub completely using the drain valve.
- Remove the filter and any accessories.
- Deflate the tub once all water is removed.
- Clean and dry the tub thoroughly — any moisture left inside will cause mould over winter.
- Fold loosely (don’t crease sharply) and store in a dry, frost-free location like a garage or shed.
- Store the pump unit indoors at room temperature — NOT in an unheated garage.
Why You Can’t Leave Inflatables Out
The materials used in inflatable hot tubs — PVC and vinyl — become brittle below freezing. A hard frost can crack seams and weaken glued joints, even if the tub is empty. The pump units contain small passages where water is almost impossible to fully drain, so freeze damage to the pump is the most common issue. A replacement Lay-Z-Spa pump costs £100-200, so storing it properly is worth the effort.
If you’re thinking about upgrading to a hard-shell model that you can run year-round, our buyer’s guide covers everything from budget options to premium setups.
Common Winterising Mistakes
Having gone through this process myself for five winters now, and having helped a couple of neighbours with theirs, these are the mistakes I see people make repeatedly.
Not Removing All the Water
“I drained it” usually means “I opened the drain valve and walked away.” Gravity draining doesn’t get the water out of jet lines, the heater tube, the pump housing, or low spots in the plumbing. If you haven’t blown out the lines with a shop vac or compressor, there’s still enough water in the system to cause freeze damage.
Using the Wrong Antifreeze
Automotive antifreeze (ethylene glycol) is toxic. It tastes sweet, which makes it dangerous to pets and wildlife. Every year, vets in the UK treat animals poisoned by antifreeze — the RSPCA regularly warns about this. Use propylene glycol pool/hot tub antifreeze only. It costs about the same and is readily available.
Leaving the Power Connected
Once your tub is winterised, disconnect it from the mains at the isolator switch. A winterised tub with no water shouldn’t have any power running to it — there’s nothing to heat, nothing to circulate, and the risk of a pump trying to run dry (which destroys the seals) outweighs any benefit. If your tub has a built-in freeze protection mode, that mode requires water in the system to work — it’s useless on an empty tub.
Forgetting the Filter
Remove your filter cartridge, give it a thorough clean with a filter cleaning solution, let it dry completely, and store it indoors. A wet filter left in an empty tub through winter will develop mould, become brittle, and be useless by spring. Replacement filters cost £15-40 depending on the model, but there’s no reason to waste one through neglect.
Skipping the Flush
I’ve mentioned this already, but it’s worth repeating. The 20 minutes spent flushing the lines before draining saves you from a revolting first fill in spring and protects against bacteria growth in the dormant plumbing. Don’t skip it.
When to Start and When to Reopen
Timing Your Winterisation
In most of the UK, late October to mid-November is the window. You want to winterise before the first hard frost but after you’ve had your last autumn soak. Check the long-range forecast — the Met Office 14-day forecast is usually reliable enough for planning purposes.
If you’re in Scotland or at altitude, earlier is better — I’ve seen hard frosts in the Highlands by late September. Southern England can often get away with waiting until late November, but don’t push your luck.
Reopening in Spring
The reverse process — de-winterising — is straightforward but takes a couple of hours:
- Remove the cover and any protective wrapping.
- Inspect the shell for cracks, debris, or animal damage.
- Remove any moisture absorbers or towels.
- Reinstall all jet inserts.
- Close the drain valve and pump unions.
- Refill with fresh water.
- Turn the power on and run the system without heat to check for leaks.
- If no leaks, heat to operating temperature and balance the water chemistry.
- Run for 24 hours, recheck chemistry, then enjoy.
The best time to reopen is when nighttime temperatures are consistently above 5°C — typically late March to mid-April in England, slightly later further north.
Frequently Asked Questions
How long does it take to winterise a hot tub? Allow 2-3 hours for the complete process including flushing, draining, blowing out lines, and cleaning. If you have a submersible pump, draining is faster (20-30 minutes vs 2-3 hours via gravity). The line flushing step alone takes about 45 minutes including the rinse cycle.
Can I just leave my hot tub empty without winterising it? Draining alone is not enough. Residual water trapped in pipes, jets, pumps, and the heater will freeze and cause expensive damage. You must blow out the lines and add non-toxic antifreeze to protect the plumbing. An empty but unwinterised tub is at the highest risk of freeze damage.
Is it cheaper to run my hot tub through winter or winterise it? Running a well-insulated hot tub through a typical UK winter costs roughly £40-80 per month in electricity. Winterising costs a one-off £25-40 for supplies. If you won’t use the tub for 3+ months, winterising saves £100-200 in energy. If you’ll use it regularly, the enjoyment easily justifies the cost.
What temperature should I winterise at? Winterise before overnight temperatures regularly drop below 0°C. In most of England, this means late October to mid-November. Don’t wait for a frost warning — by then you may already have damage from overnight cold snaps. The ideal day for the job is dry, above 5°C, and with no frost forecast for 48 hours.
Can I winterise my hot tub myself or do I need a professional? Most owners can handle winterisation themselves with basic tools. The only step that some people find tricky is blowing out the plumbing lines — a wet/dry vacuum in blow mode is all you need. If you’re uncomfortable with the process, hot tub dealers offer winterisation services for £80-150, which is good insurance if your tub cost several thousand pounds.